 Shop now, pay later in 4 easy installments

Choosing the right photo paper is only part of getting a great print. Your printer settings can also affect colour, sharpness, ink coverage, drying time and how well the paper feeds through your printer.
If you've loaded photo paper and wondered which settings to choose, here's a good place to start.
Choose the right paper type
The Paper Type or Media Type setting is one of the most important.
Depending on your printer, you may see options such as:
- Photo Paper Glossy
- Premium Glossy Photo Paper
- Premium Semi-Gloss Photo Paper
- Matte Photo Paper
- Presentation Paper Matte
- Other Photo Paper
Choose the setting that most closely matches the finish and coating of the paper you're using.
For glossy paper, start with a glossy photo paper setting.
For semi-gloss, use a semi-gloss option where available.
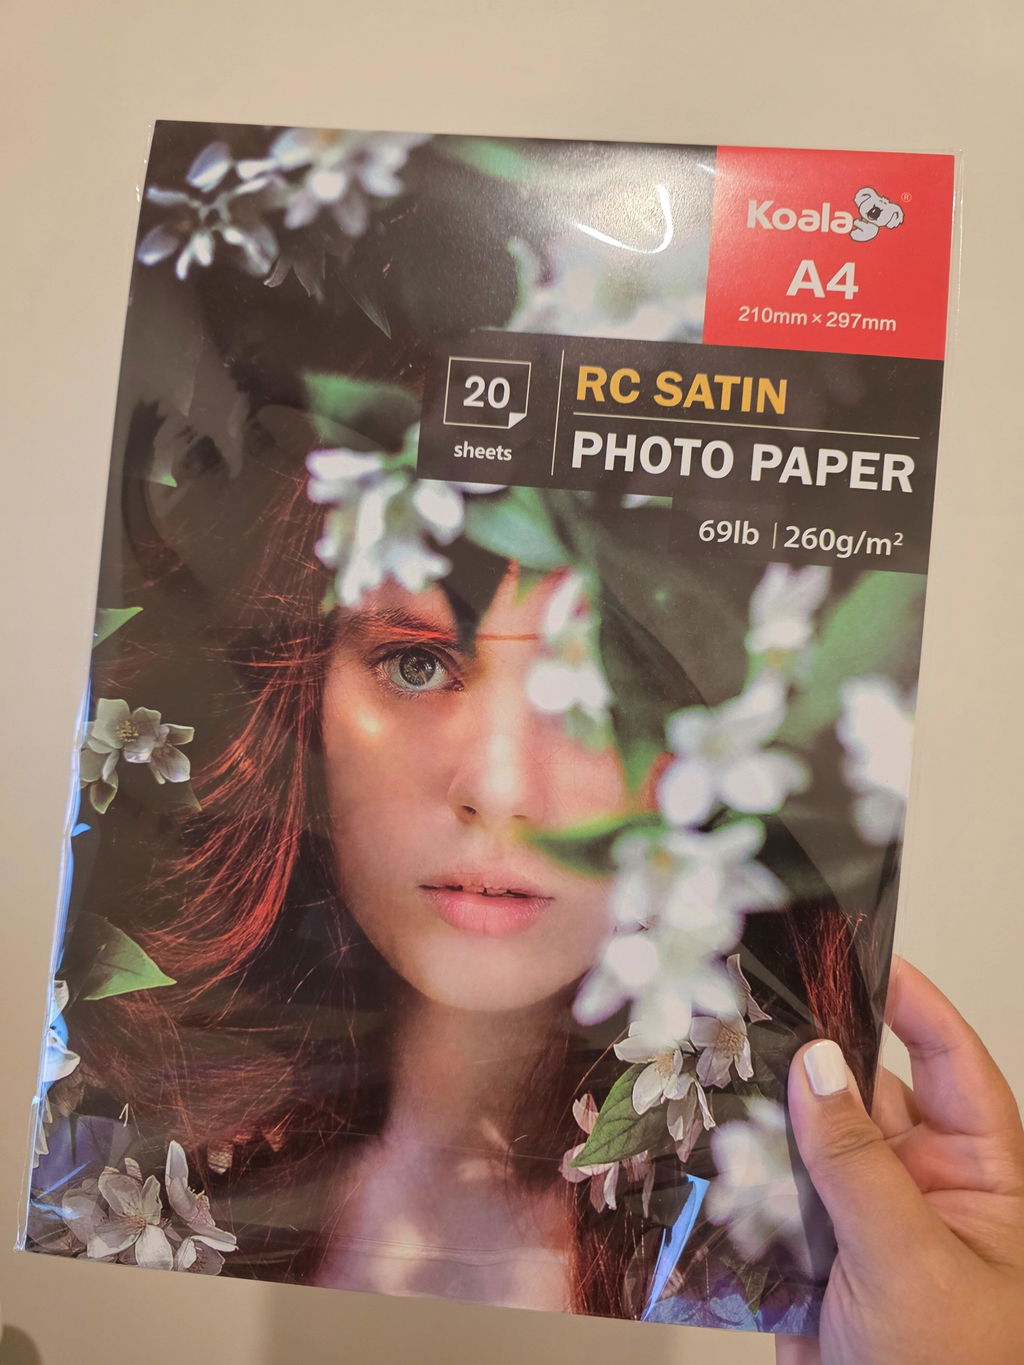
Satin papers may not have their own setting. As satin and semi-gloss are both lower-shine photo finishes, a semi-gloss or similar photo paper setting can be a useful starting point.
For coated matte photo paper, choose a matte photo paper setting rather than automatically selecting Plain Paper.
You don't need to find the exact brand or GSM of your paper in the list. It's completely normal for third-party papers not to appear by name.
Does GSM change the printer setting?
Not necessarily.
GSM refers to the weight of the paper, while the media setting relates more closely to how the printer needs to print onto its surface.
A 115gsm and 140gsm glossy photo paper, for example, may use the same glossy media setting.
However, GSM and thickness can affect how the paper moves through the printer. Always check the maximum media specifications for your printer when using heavier papers.
Do you need the highest print quality?
Not always.
Best or high-quality modes can be useful for photographs and detailed artwork, but they also take longer and generally use more ink.
For everyday projects, craft printing, inserts and other applications, a standard photo-quality setting may already give you excellent results.
Try a small test before committing to a large print run.
Check the advanced printer settings too
Depending on your printer and driver, you may have additional controls that can help when printing on different photo papers.
Ink drying time
Some printers allow you to increase the drying time between passes or pages.
This can help if you're experiencing smudging, ink transfer or marking as freshly printed paper moves through the printer.
If your prints are already coming out clean and dry, there's usually no need to increase it.
Print or colour density
More ink doesn't automatically mean a better print.
If too much ink is being applied for a particular coating, prints can appear overly dark, take longer to dry or lose fine detail. Too little ink can result in pale or washed-out prints.
Small density adjustments can sometimes help when the standard media setting isn't producing quite the result you want.
Thick paper and platen gap
Some printers include a Thick Paper, Paper Thickness or Platen Gap setting.
These settings can help provide additional clearance when printing on thicker media, particularly if the paper is getting too close to the print head or you're seeing scuffing.
You don't necessarily need to select Thick Paper simply because you're using photo paper. Use it when the thickness of the media or a printing problem makes it necessary.
High-speed or bidirectional printing
High-speed or bidirectional printing allows the print head to lay down ink while travelling in both directions.
It's faster, but turning it off can sometimes improve alignment or fine detail.
For most everyday printing, leaving it enabled may be perfectly fine. For photographs or detailed work, it's worth testing both options if you're not happy with the result.
Single-sided or double-sided?
If you're using single-sided photo paper, make sure you're printing on the coated side. Printing on the uncoated reverse can result in dull colours, poor ink absorption or smudging.
With double-sided photo paper, both sides are coated for printing, making it useful for brochures, cards, menus, inserts and other projects that need printing on both sides.
Quick troubleshooting guide
If your print isn't looking quite right, these are some settings worth checking:
| Problem | Settings to check |
|---|---|
| Colours look dull | Media type and print quality |
| Print is too dark or wet | Media type and ink density |
| Ink is smudging | Drying time and ink density |
| Paper is being scuffed | Paper thickness or platen gap |
| Fine detail looks slightly misaligned | High-speed/bidirectional printing |
| Paper isn't feeding properly | Paper thickness and printer media limits |
Change one thing at a time
When experimenting with printer settings, change one thing at a time.
If you change the media type, density, drying time and print quality all at once, you won't know which adjustment improved, or worsened, the result.
Start with the correct media type and print quality, make a test print, and only adjust the advanced settings if something isn't right.
There isn't one perfect setting for every combination of printer, ink and photo paper. Once you find settings that work well with your printer and paper, save them or make a note for next time.
Find the right photo paper for your printer
The finish you choose can make just as much difference as the printer settings.
Glossy has a smooth, high-shine surface that produces vibrant colour, strong contrast and a traditional glossy photo finish.
Semi-gloss sits between glossy and matte, offering vibrant colour and good detail with a softer sheen and less reflection than a full glossy finish.
Satin has a smooth surface with a subtle sheen, offering a softer, less reflective appearance than high-gloss paper. The exact finish can vary between manufacturers and paper types.
Matte has little to no shine and is well suited to artwork, cards, invitations, illustrations and other projects where a non-reflective finish is preferred.
Create Print Love stocks Koala inkjet photo paper in Australia, with a range of paper weights and finishes to suit different printing projects.
Whether you're printing photos, magnets, craft projects or materials for your business, matching the right photo paper with the right printer settings can make a noticeable difference to your finished print.
Explore our Koala photo paper range to find the right option for your next project.